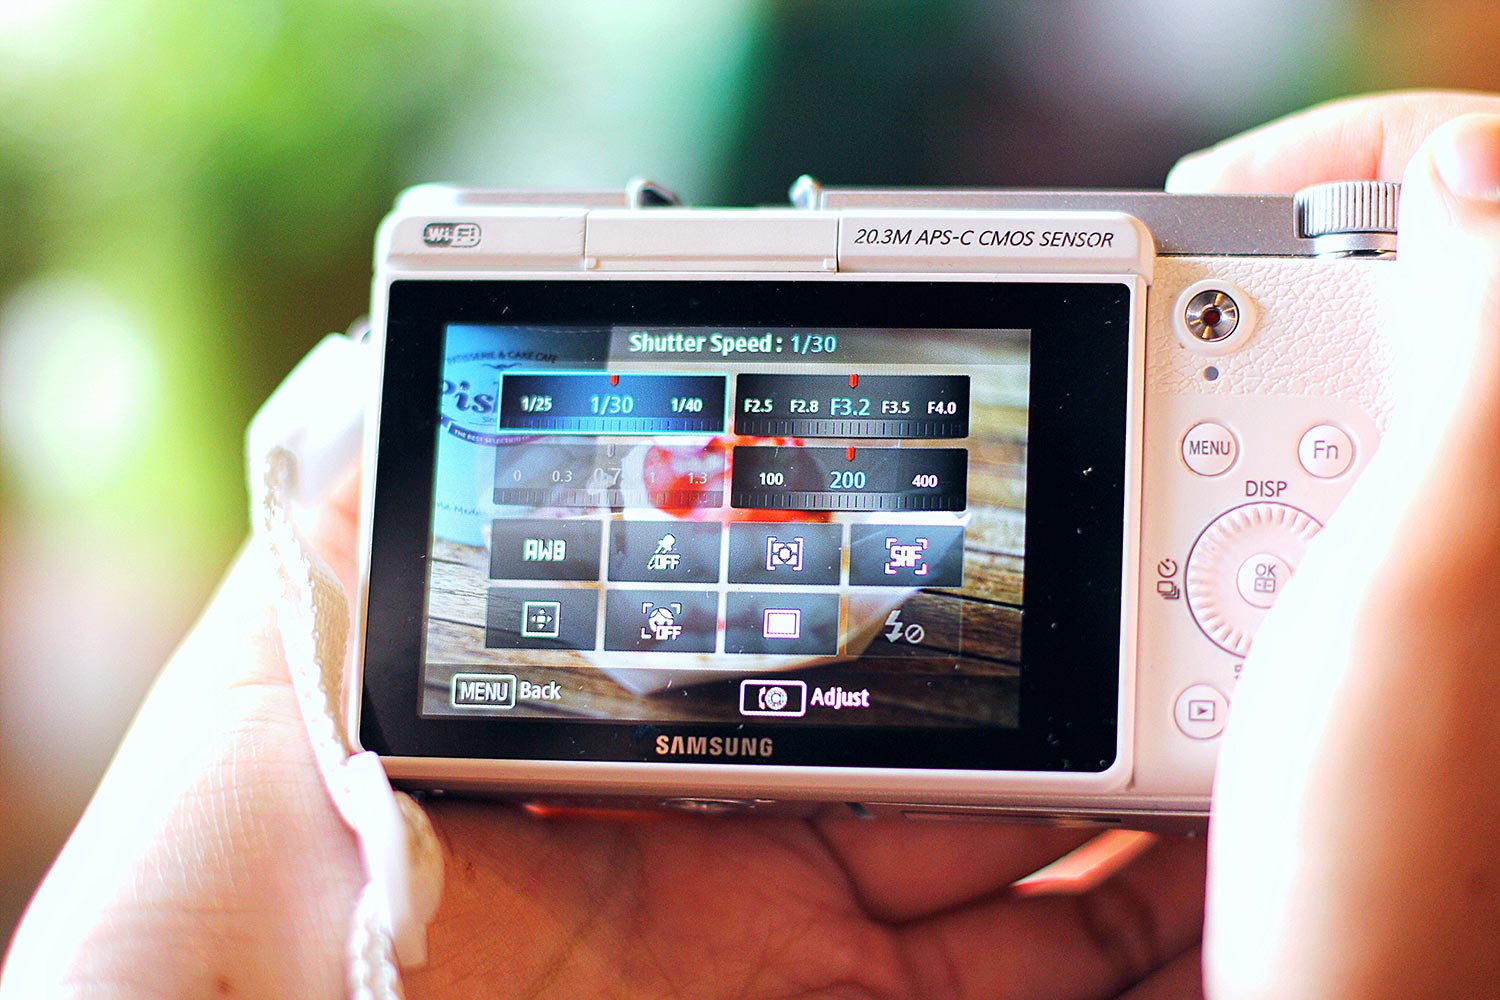
So you’ve read all about composition, colour and styling, and it’s now time to use your camera in Manual mode, like the “pros” do. But where to begin? Manual mode leaves all the controls entirely up to you, and all those buttons and options can sometimes get confusing.
Well here’s a quick starter’s guide to using your camera in Manual mode – and perhaps help demystify those strange settings!
ISO
 ISO 100 (left), ISO1600(right)
ISO stands for “International Standards Organization”, and is really all about noise management. You know those little spots of colour in the top right hand corners of the pictures above? That happens when there isn’t quite enough light, and the camera is trying to digitally create details that are not quite clear. A higher ISO means more noise, but it also means that in low light situations, your shutter speed can be fast enough so that your picture doesn’t turn out like a dark, blurry mess.
Aperture (F-stop)
 F1.8 (left), F8 (right)
Aperture has all to do with depth of field. There’s a whole science to it, but effectively, the lower the F-stop, the shallower the depth of field. If you look at the coffee cups in the pictures above, you can see that the one shot at F1.8 has the logo on the coffee cup blurred out, while the one shot at F8 is in focus. You can use this to create dramatic shots that “capture the moment”, and draw focus to the hero of a picture.
Shutter Speed
The shutter speed refers to how quickly the camera “clicks”. Imagine each click as a blink of your eye. The longer you take to blink, the more light you’re letting in, and the more details you can get in a picture. BUT, it also means that your picture is susceptible to hand-shaking and movement, which then means that unless you’re on a tripod, you can get up with a hot mess on your hands. In low light situations, a long shutter speed might be the option to choose, but please please bring a tripod, or you know, set it on the table or something.
White Balance
 White balanced pictures for Tungsten (left), Daylight (middle), and fluorescent (right).
White balance basically refers to the colour temperature of your light, because white isn’t always ‘white’. Some cameras have fantastic Auto White Balance calibrators, but in the event that your picture starts to look a little off-colour, you might want to start tinkering with your white balance settings. Tungsten light, for example, is very warm and yellow, so the camera will compensate for it by tinting everything blue, to balance out the yellow. On most cameras, you can also choose to take a picture of a white plate or piece of paper, and use that photo to calibrate your ‘white’ under your ‘custom white balance’ setting.
Exposure
 Overexposed photo (left), Underexposed photo (right)
The concept of exposure has its basis in the days of film photography, where the photographer will ‘expose’ the film for a certain period of time, capturing a certain amount of light. This setting basically controls how bright or blown out a picture is, and usually controlled by a little bar down the bottom of the screen. Most modern cameras come with built in light meters, and tells you how bright your picture should be. Just move the dial so that the little red line lines up to zero. Simple!
I hope that this guide has helped you make that first step into shooting in manual! I’d love to hear what you think , or if there’s anything else about photography I can help you out with! Just leave a comment down below! If you enjoy our photography posts, subscribe below for a monthly photography fix, right to your inbox!
![]()