Posts tagged tips and tricks

10 Steps To Your Very Own Korean Food Party!

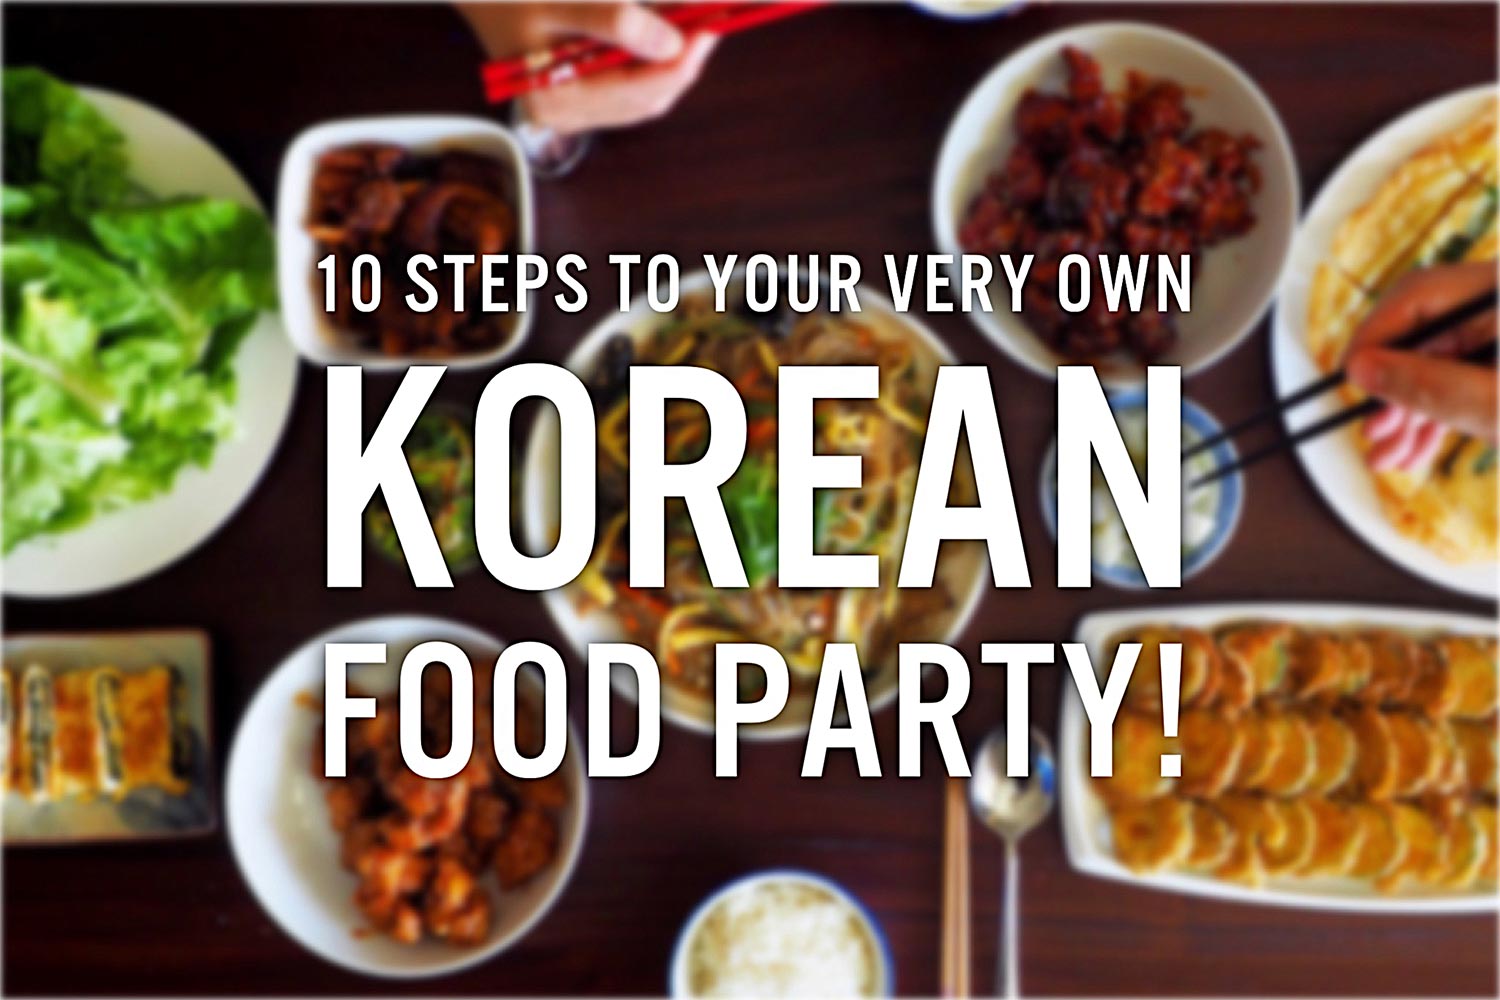
So you love eating, and better yet, you love making your own food. But authentic ethnic foods can be really hard to get right, especially when they have a big culture of home cooking. Korean foods, for example, can often be intimidating to the people outside looking in – after all, how do you really know if a recipe you find is authentic? Well, it’s easier than you think to go from lost and confused, to your very own Korean food party! Just follow these 10 steps:
Read More

5 Ways to Get the Most Out of Netflix!

Ahh, Netflix. Thousands of titles, and only so much time in the day. But I remember when we first got this cult favourite – we got the trial account, signed in…and then what? We had no idea what we wanted to watch, and we didn’t really know what they had to offer beyond a few big titles.

But know, I’m on top of it like the king of the mountain, and with a few small tips, you’ll also be well on your way to losing all your waking hours to the amazing abyss of Netflix auto play.
Read More

Top 6 Tips to Photograph Children!

For a long time, I was the only one of my family to move to Sydney. Most of us live in Singapore, with one cousin I’m very close to in Melbourne. Soon, the next generation came along, and the reality of being a long-distance aunt means that the kids aren’t as familiar or close to me as I’d love for them to be. It’s even harder because I just love capturing moments in photographs, and it’s a little hard to do when the kids are a little wary of you.

Sometimes, it can be hard when photographing kids, especially when they’re not feeling cooperative, or they’re just a little shy. I didn’t want to miss out on these fleeting moments with my family, so I had to figure out what to do, fast!

Here’s what I’ve learnt: my top 6 tips to photograph children!

Read More

How to make makeup last all day!

Image Source: Nicolee Camacho

Coming from a hot, humid country like Singapore, I’ve been through so many instances of racoon eyes where my makeup just doesn’t hold up to unladylike amounts of sweat and errands. So I’ve adapted and tweaked my makeup routine, so that today, I can get dunked in a pool of water, and my makeup will still stay on!

But really, don’t dunk me.

Read More

How to start photographing in manual

So you’ve read all about composition, colour and styling, and it’s now time to use your camera in Manual mode, like the “pros” do. But where to begin? Manual mode leaves all the controls entirely up to you, and all those buttons and options can sometimes get confusing.

Well here’s a quick starter’s guide to using your camera in Manual mode – and perhaps help demystify those strange settings!

Read More

The 1 Step Method To Cleaning Your Makeup Brushes

Let’s face it: cleaning your makeup brushes can be such a drag, which is probably why many of us across the world have pink and brown stained bristles sitting in disarray on our dresser.

Well no longer! I’ve figured out one single, simple and quick secret to cleaning my brushes, every single time I do my makeup.

Read More

Not-so-secrets To An Organised Kitchen

I like to think that I’m a neat person generally, but when it comes to my kitchen – home is where the food is! – I’m an absolute stickler for keeping things organised.

And why not? An organised kitchen means a more efficient way to get the delicious food into your belly, and a reduction in food waste that means more dollars in your pocket!

So, anyone else a fan of Tetris?
Read More

Kitchen Hand: When life gives you bones

IMG_0150

And by ‘life’, I mean your butcher.

When I buy cut meat from my butcher – diced chuck steak, gravy beef, beef mince – I think it’s fair to say that I don’t expect any bones in it. So imagine my surprise when I opened up the bag of diced lamb shoulder from my butcher, only to find that he’s diced everything (presumably with a band saw) with the bones in. The vertebras and everything! I can see where it happened: he was only selling the entire shoulder of lamb, and I had requested diced shoulder. When he said that he could do that for me, he just went out the back, took a band saw to it and gave it to me in a bag.

Now while there’s absolutely nothing wrong with stewing meat on the bone (in fact, it can be tastier), I chose to buy diced meat because I wanted to make a stew that I could pack to work the next day and eat with ease. I’m not about to try and figure out how to politely and delicately pick meat off the bone and then try and neatly get rid of the bones. Most of the time, there’s a scant half an hour for lunch and I don’t have the time to eat an extremely involved one.

So what do you do when you want boneless meat but you’ve been given bone? Well, trying to bone out each piece is going to take you forever and there can be quite a lot of waste involved. You can just put the meat in the stew as is, but like I mentioned, it’s not exactly ideal, especially if you’re trying to pack lunch for the next day. Well, thank goodness this particular type of meat – lamb shoulder in my case – can take a lot of cooking, nay, it needs a lot of cooking.

Rather than stew the meat in the actual stew for 3-4 hours, I put the meat in the pot and covered it with hot stock. I had some ends of onions from the onions that I was chopping, and some ends of carrots that I wouldn’t eat. So I plopped those in with a bay leaf or two, and simmered for about 2.5 hours. It also works if you have a slow cooker. Then I took the meat out and let it cool a little, and simply picked off all the meat off the bone. It all just fell off! I then started the stew, threw the cooked meat in, and finished it off for an hour or so.

Yes, it is a slightly more involved process, but what can you do? I’m not about complain to my butcher, and I don’t want to waste the meat.

And the stock that you’ve simmered the meat in? Just pour it into the stew, and taste all that added flavour! No dramas, and easy packed lunches are here to stay.

Queen Make-At-Home Gelato Kits, Part 1

Layout 1

From left: Lemon and Chilli Sorbet, Chocolate Gelato with salted butterscotch sauce

I absolutely LOVE receiving things in the mail, and this time it’s Queen Make-At-Home gelato kits!!

IMG_8756

Summer has rolled around in a BIG way, and that’s just put me in the mood for ice cream – meaning that these kits have come at the perfect time. I received 3 gelato kits and 1 sorbet, and I wanted very much to do something special with them. I know that being someone who constantly craves variety and surprise, I simply could not just have your run of the mill gelato flavours. But what to make?

Well, the lemon was the easiest to figure out. Something that I absolutely love with my acid, is the burn of chilli. I just love how the citric acid in lemon makes my tastebuds ring like the bells of Notre Dame, and then the capsacin in the chilli just blaze right through, setting them all on fire. Of course, I didn’t want my gelato to make people reach for a glass of water, but I did want it to bite back. And so…

Fire and Ice

Fire and Ice Sorbet

It was simple, really. Lemon sorbet churned with just a touch of good chilli jam. Is there anything more simple? The sorbet turned out refreshing, and yet tantalising at the same time! We had it topped off on lemon-juice-and-maple-syrup-soaked crepes. Because the chilli jam wasn’t knock-your-socks-off spicy, it provided a slight warmth in my throat following the first tang of refreshing lemon. A match made in heaven.

The chocolate gelato was just slightly harder to pair. I wanted something that wasn’t too traditional, but it was a little harder to match unconventional ingredients to a chocolate gelato – in my opinion – as the rich, luxurious texture and deep flavour of the chocolate will just dominate. Yes, it can definitely be argued that there are many different things that can be done with chocolate, but I think that chocolate gelato is a very different beast. You’re not just dealing with the texture, flavour and mouth feel of pure chocolate, but also of the frozen creaminess of the gelato. (And I already used the chilli idea for the lemon.)

But thinking about the creamy texture and luxurious flavour made me think, “Why not just push luxuriousness and decadence to the next level? Surely more of a good thing can’t be bad?”

The answer? Salted butterscotch sauce.

Butterscotch Cocoa

Butterscotch is a relatively simple thing to make. Supposedly you’re meant to use actual scotch in it, but I don’t happen to have it around the home. The recipe seems to work well enough, and can be used to top off any number of desserts.

Salted Butterscotch Sauce

125g Butter
1/2 cup Brown Sugar
1/4 cup cream
Coarse Salt/Sea Salt Flakes

In a shallow pan, melt the butter and whisk in the brown sugar. Once the mixture has come to a boil, add the cream in slowly and whisk to combine. Continue to cook the sauce over low heat until the sauce thickens slightly. Sauce will continue to thicken upon standing. Once cooled, fold in sea salt flakes, careful not to let them fully dissolve into the sauce. Alternatively, sprinkle the salt on just before serving.

I would strongly recommend a small serving of the ice cream and sauce. I’m a person who loves any amount of decadence and hedonism, but even I felt that this was a truly rich combination. Immensely satisfying in small amounts. And given that it’s so easy to make, you can have frozen desserts to last you through those 40C days to come!

What I really like about these kits are that they are so simple, and allow you to concentrate on adding your spin on it without having to worry about things like infusing a particular flavour into the ice cream custard. These flavours are just so basic that you can add any multitude of things to it, and just create your own!

Of course, with great creativity still comes things to look out for, and these are my top things to look out for when making these gelatos:

  • Make sure that you add the liquid component slowly and in parts, whisking to combine before adding the rest. If you add all of the liquid at once, it can be hard to ensure that all the powder dissolves into the liquid to make a homogenous mixture, resulting in a wonky textured ice cream. 
  • Anything that you wish to churn into the ice cream should be somewhat fluid but still of a syrupy consistency. When I added the chilli jam to the first batch of ice cream, I added it straight out of the jar and all the jam just sunk to the bottom. Heating it gently and then allowing it to cool to room temperature helped to ensure that it would mix into the lemon sorbet entirely.
  • If you want to swirl the butterscotch sauce into the gelato, you can, but make sure that the gelato has churned to a thick enough consistency, or the sauce will settle eventually into the bottom of the container.
  • In the pre-cooling process before churning, DO NOT put the gelato straight into the insulated bowl of the churner and put that in the fridge. You will end up with rapidly frozen edges that will cause the paddle of the machine to not turn and following that, very disturbing noises from your ice cream machine.
  • That being said, the pre-cooling process of putting the mixture in the freezer for 20 minutes really helps you get the thick ice cream consistency when you put it into the machine to churn. Otherwise, at the end of 40 minutes of churning you get a semi-frozen tasty soup and is wayyy too thin to swirl flavours through.

But the best part is that these mixtures are so forgiving. You don’t have to worry about overcooking or curdling a custard. Even when I wasn’t able to make a completely homogenised gelato/sorbet mix – I was too eager and put all the liquid component in at once – the gelato still froze to a creamy consistency and was delicious nonetheless.

What are your favourite delicious gelato combinations?

Note: Tammi Kwok of Insatiable Munchies was given Queen Make At Home gelato kits by the nice people at Queen Fine Foods and Beyond the Square Communications.

Eggsperiments!!

image

As we all know, I have a thing for soft boiled eggs (oh Mappen how I love you!). But rather than making a trip into the city every time I want a soft boiled egg fix, I decided to conduct my own experiments regarding how to get that perfectly soft boiled egg at home. 

Everything I’ve read about soft boiled eggs had processes that were very involved. There were very specific steps that you had to take — the eggs at to be at room temperature (which room are we talking about exactly?) and when you left the eggs n hot water to cook n the residual heat (but how hot did the water have to be exactly?), there were differing times. Surely you could do all of this without gadgetry and extended steps. How do mothers do it in the morning to feed their children? I know that my morning routine simply cannot accommodate a fussy egg cooking process, but I don’t feel like nicely cooked eggs should only be part of a leisurely weekend breakfast.

Out of all the instructions I’ve found online, Heston Blumenthal’s seemed immediately doable. It was simple, and when Heston says that it works every time, then I’m happy to trust him. He said to cover a room temperature egg with just enough cold water and bring it to a boil fast, over high heat. After that, turn the heat off and leave the egg to cook n the residual heat for 6 minutes. Slightly involved, but it sounded doable.

The other method that I tried was one that has been working for me every time. Bring a pot of water to the boil, then take an egg out of the fridge (which is where most of us keep them for convenience sake) and put it in the boiling water and reduce the heat to low so the water is simmering, for 6 minutes.

image

The results? Heston’s method seemed to produce a really nice hard boiled egg, but hard boiled nonetheless. My method produced a hard boiled white, but with a runny yolk.

image

I’m not too sure why exactly, but I think the going theory at the moment is that the eggs were too small — I used medium sized eggs, the smiley faces on them got to me! — and maybe too big a pot, because that meant that the water took longer to get to a rolling boil. My method got a consistently runny yolk, but I’ve been experimenting with decreasing the boiling time and increasing the resting time to get to a soft, just-cooked white as well.

I’ll keep you updated on the eggy eggsperiments, but I’m absolutely open to suggestions! What are your secrets to a perfectly set soft boiled egg?