Posts tagged Ingredients

I’ve got a present for you!

Image by kjoyner666

Don’t forget, the Ingredient of the Month for February is Jelly!! And together with Aeroplane Jelly, I’m offering the chance to win a large jelly hamper!! All you have to do is either email me your favourite jelly recipe, or write a blog post with about your favourite jelly recipe/jelly that you’ve had and post the link in the comments here.

Contest ends 1st March, so hurry!!

Win a rainbow!!!!

Image by stevendepolo

…or you can make one!!! If you haven’t guessed it already, the ingredient for this month is

JELLY!!

This cool, gelatinous, melt-in-your-mouth is definitely a summer favourite for me, and it made me wonder about what else you can do with it.

So get your creative hats on, because Aeroplane Jelly has very nicely agreed to help me with the giveaway!! Just choose your favourite jelly recipe and write a blog post (leave the link in the comments), or send me an email with your favourite recipe ! It’s that simple. At the end of the month, I’ll pick my favourites, and everyone gets some jelly!!


Contest ends 1st March 2011.

Coming soon!!

Red Bow

Image by taberandrew

I’m so excited!!!!! Starting from February 2011, I’m going to launch a new series – Ingredient of the Month – and it’s going to be a free for all creative (or tried and tested!) cooking activity. I’ll try to get prizes lined up for the most creative entry, and everyone will have till the end of the month to create, to dream, and to cook!!

So excited!!!!!

The ingredient for February will be announced soon!!!

Watch this space. hehe.

Clap Your Hands to the Beet

 Roast beetroot is AWESOME! I didn’t quite know what to make of them at first, but I was introduced, and it was yummy. So. I saw a roasted beetroot salad recipe by Jamie Oliver – when he was in Stockholm – and I just had to try it. I made some very minor adjustments, but otherwise, it’s just full of yummy goodness.

Ingredients:
Fresh Beetroot
Dill
Chives
Salt
Pepper
Olive Oil
Red Wine Vinegar

Wrap the beetroot in foil and roast in a 180C oven for about 40 min to 1 hour. To me, the way to tell a beetroot’s cooked is pretty much the way you’d tell a potato’s cooked – you stick a fork in and if it gives, it’s cooked.

Dice the beetroot into bite-sized pieces. Season liberally with salt and pepper, then add a liberal splash of good quality olive oil and vinegar (once I didn’t have red wine vinegar and used brown – it was fine). Snip some dill and chives in, and mix.

Et voila! Awesome, simple beetroot salad that frankly, I eat as a main. And beetroot salad is apparently very VERY good for you. =) =)

All win in my book.

Say Cheese!!

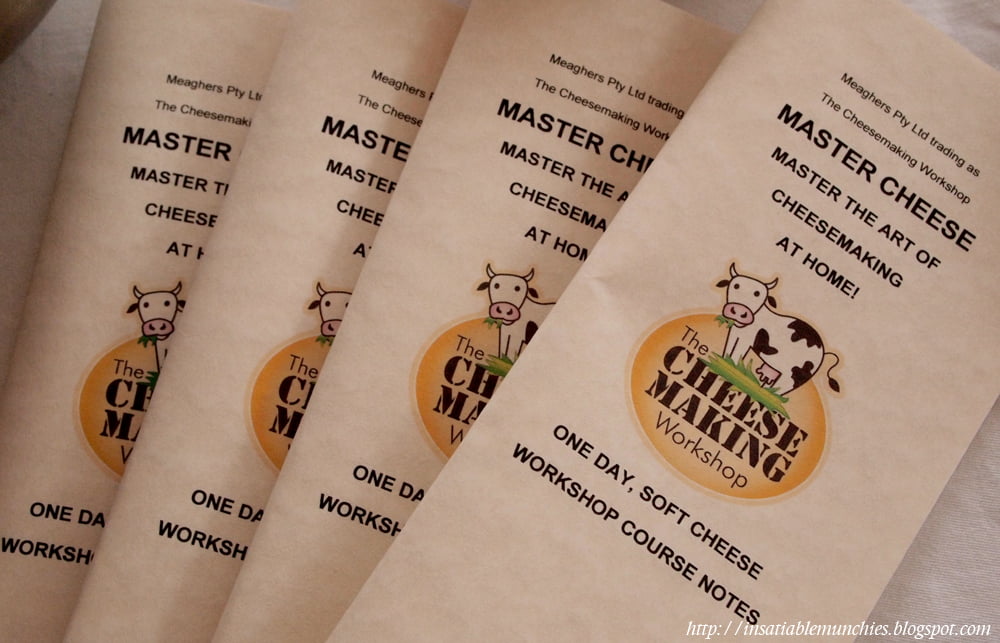
I went to a cheese course!!!! I can’t stop telling everyone. As a foodie who loves loves cheese, this is somewhat a dream come true for me. I chanced upon a little sign for a one day cheese making course and I absolutely had to go!!! So excited.

Upon arrival, there were samples of the cheeses that we were going to make all laid out for us to try!!  In order, the pictures are of mascarpone (and yes those black specks you see are from a vanilla pod!), feta, and my absolute favourite, camembert.

Mmmm…goey, creamy, camembert…

We also learnt how to make quarg (cream cheese), and yoghurt, but I was too busy eating that I kinda forgot to take photos of those. *sheepish*

Morning tea was also provided, and the lovely Susan baked little yummy cheesecakes…

…that we promptly smothered in strawberries and mascarpone. hehe.

Lunch consisted of spinach and ricotta cannelloni, with ricotta that we’d MADE THAT MORNING!!!!!!!! How awesome is that?? This is what I call instant gratification!

There was also a grilled chicken and haloumi salad that was so good, when I went back for seconds all the haloumi was gone!!!! (Well, there were a couple of pieces, but there was no way that I could get at them without being very unslightly and rather uncivilised.)

And a Greek Salad with feta that we were learning how to make. =)

It was so exciting learning the cheese making process! Cheese making does take a good part of your day, so it takes a while in that sense, but IT’S SO EASY!!

And so pretty. Look at the pretty camembert settling in their hoops.

Isn’t it just poetry in motion?

And the cheese cloth straining with the weight of creamy mascarpone just gets me so excited that I want to run around the room like a child on a sugar high. Cheese high. Food high. Heheheheheheheheheehhehe.

Isn’t it just absolutely GORGEOUS????? Oh what a thing of beauty!!

I swear I’m never buying cheese again. Unless it’s blue. Or crumbly. Cause I can’t make those. Ok, I’m never buying soft cheeses again!!

Oh, and we got to bring home a wheel of camembert, a container of feta, containers of mascarpone and yoghurt! Swag!

Contact:
The Cheesemaking Workshop
Ph: (02) 9958 0909 or 0412 145 017
Email: susanmeagher@optusnet.com.au
www.thecheesemakingworkshop.com.au

Of Cabbages and Kims!

I went to a Kimchi making class! Courtesy of Mel, since she couldn’t make it and I got to go in her place!

Here is our lovely teacher teaching us about dealing with the cabbage. 

There’s such technique to making the kimchi, even after you have the sauce ready. Speaking of which, it has like, a million ingredients!

But you can do heaps with kimchi, including a really yummy kimchi soup!!!

I’ll put up a later post detailing a recipe for kimchi. =) But meanwhile, here’s my take-home from the class!

It looks scary, I know. But it’s so yummy!!!

I love pickling.

Happy munching!

Hung Out to Dry

I was flipping through one of Heston Blumenthal’s books where he was talking about the perfect Pasta Bolognese. There were loads on the perfect sauce, but he also discussed the perfect pasta.

Apparently, (and this is backed up by my extensive research – Iron Chef on TV had similar information) all freshly made pasta needs to be dried. This gives the pasta more body and bite, and helps it ‘stand its ground’ when there’s sauce added.

So I decided to experiment.

First, the basic fresh pasta recipe:

6 egg yolks (or three eggs. Not the perfect outcome, but acceptable for everyday food)
2 cups (300g) strong superfine flour (plain flour’s fine, you just have to knead it more)

Mix the egg yolks in with the flour. You can do this in a food processor till there’s a course crumb, or by hand in a bowl. Once it comes together, tip it out onto a clean counter top an knead till the dough is smooth and elastic. Wrap the dough in cling and leave to rest for 1/2-1 hr.

*On a side note, if the dough is too dry, add more egg. It all depends on the size of the egg you’re using.*

Next comes the fun part. Section the dough into 100g balls. I use a pasta machine to roll it out, but you can do it by hand if you want (it’s quite a bit of grunt work though). If you’re using a pasta machine, feed the dough through the machine on the widest setting once, then fold it over and feed it through the machine again. Do this a couple of times. After that, keep moving setting thinner till you get a sheet that you can see newsprint through.

Put the sheet through the pasta-cutting-roller-thing, so you get your linguine/fettuccine/etc.

Oh, and always remember to keep your dough lightly floured! Otherwise you’re going to end up with a sticky mess.

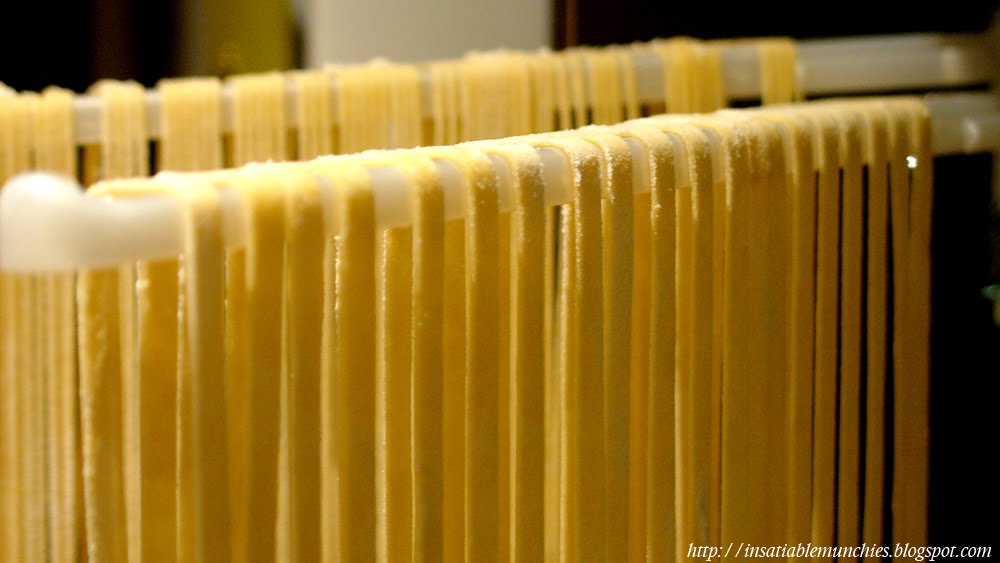
There are two main ways of drying out pasta. The first is the hanging method.

Get a clean rack and drape your carefully rolled out pasta over it. I’m using a plastic bath towel rack with suction cups, but any rack should do the trick as long as it will take the weight and you can clean it properly. The pasta strands are not supposed to touch, or mould will form. (I know I’ve got some that are touching – they were fine, but just try your best)

Drying time will depend on the climate you’re in. In Heston’s book, it’s mentioned that low heat and low humidity work well, and I can safely say that it’s the case for me. The pasta was completely dry (as in, stiff-as-a-board dry) in a couple of hours.

The second method is the nest method. This was a bit tricky.

Ok, so mine’s not so much a nest as it is a heap. You’re supposed to roll it into a nest shape and dry on a rack. For some reason mine just kept rearranging itself into heap formation. Either way, it seems to me that this produces a more semi-dry pasta, as opposed to the fully-dry hanging one.

The other thing that’s mentioned in Heston’s book is the cooking of said pasta. Apparently the holy ratio of pasta cooking is 10:100:1000. That is, 10g of salt, 100g of pasta, 1000g (1L) of water. Bring the salted water to the boil and add the pasta. Check after 5 minutes whether it’s cooked, and then a couple of minutes after that if it isn’t. The fully-dried pasta takes longer to cook.

The verdict? The thick fully dried pasta suits a meatier sauce, and the thinner fully dried one suits a simpler sauce or an Aglio e Olio type dish. The semi-dried one tasted a lot eggier, and I’m thinking that it’s more compatible with a cream-based sauce.

The fresh pasta was certainly worth the effort, it tasted like it had character of it’s own, rather than just the carbohydrate component to a dish. I would strongly recommend trying it. =)

Happy munching!

Cous in Bouche

Image by artwork_rebel

Cous Cous /kuskus/
Wikipedia

“…a dish of spherical granules made by rolling and shaping moistened semolina wheat and then coating them with finely ground wheat flour.”


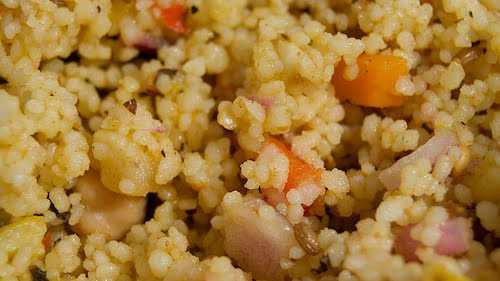
I know I’m probably incredibly behind in food trends, but I’ve just discovered the wonders of Cous Cous in the home!! I had taken awhile to try Cous Cous because a friend provided a description of “like sand”. But after seeing it fluffed with a fork my gluttonous will could hold out no longer. I tried some and it was absolutely lovely. It was light and soft, and was an excellent carrier for the flavours that were bestowed upon it.

But it took an episode of Nigella for me to fully realise how easy it is to prepare at home! All you have to do is put the Cous Cous in a bowl, add whatever spices/flavour you’d like, and cover with hot water! Leave it to stand and 10 minutes later fluff with a fork. This is even easier to cook than rice!

This is definitely going to be an addition to my pantry cupboard.

Happy Munching!

Beef Up Your Stew!

Lentil
Wikipedia

“The lentil or Masoor daal or Masoor dal (Lens culinaris), considered a type of pulse, (generic translation daal or dal,) is a bushy annual plant of the legume family, grown for its lens-shaped seeds. It is about 15 inches (38 cm) tall and the seeds grow in pods, usually with five thousand seeds in each.”

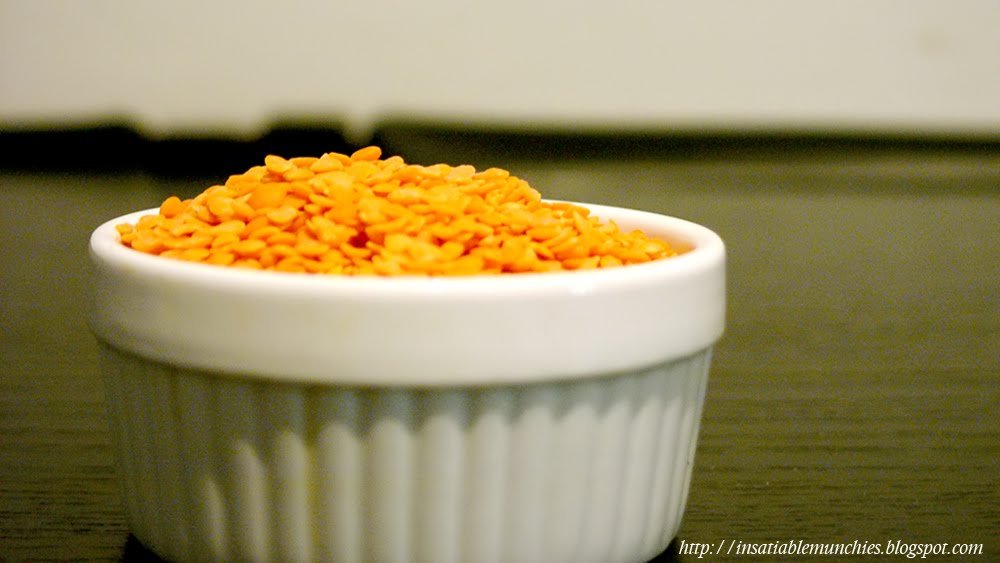
One of the vegetarian substitutes for mince is the humble lentil. Usually, the image that lentils conjure up is that of buckets of water, and having to soak them overnight…all of that effort. I know I’m probably not the first one to think of it, but I’ve just found a way to avoid all of that!

Stews.

A stew-type recipe (like a bolognese)  calls for a mixture of mince, and when you’re making a big pot (presumably for a large family), you’ll need a large amount of mince or risk the stew ending up watery, rather than rich and hearty. And meat is expensive! The solution?

Lentils!

Because of the long cooking hours, you don’t have to soak the lentils. Just rinse it in a strainer until the water runs clear, and add them in with the rest of the stew. When the stew’s finished, the lentils are nicely cooked and the stew’s really nice and hearty!

Great for those cold winter nights coming up.

Happy munching!