Date Archives May 2010

The Tin (wo)Man

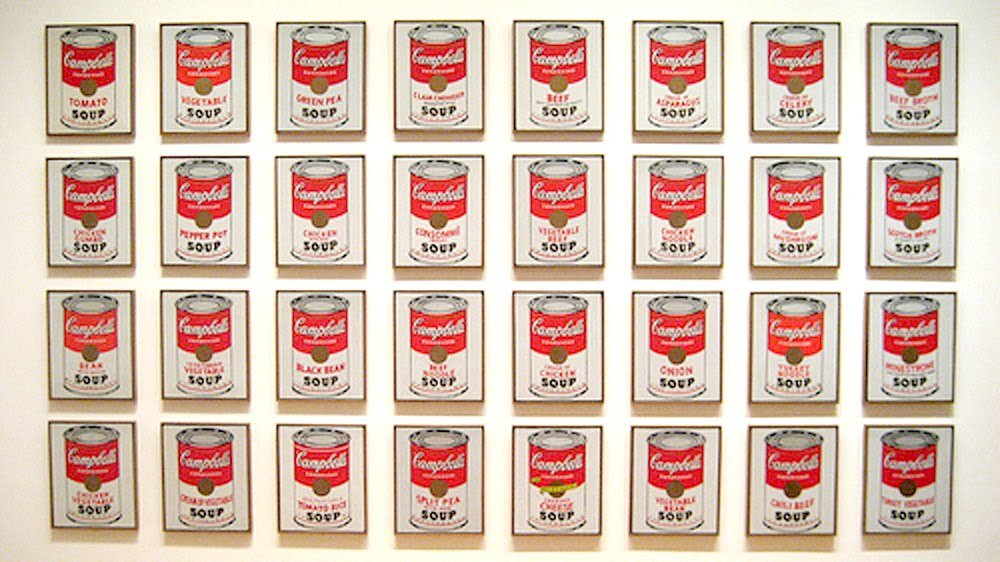
Artwork by Andy Warhol
Image taken from wallyg

Some people are against all forms of processed foods. Nigella (my goddess!) is an example of one. She believes in eating lots of ‘real foods’, but can’t stand ‘processed foods’.

But what are processed foods exactly?

One example of processed foods that is commonly given is canned food, and I have to admit that I’ve had (have!) a secret love affair with them. Yes, I do believe in ‘real foods’, but tinned goods have so much to offer! They are always on hand, cheap and last for absolute ages! No, I don’t think that you should have it for every meal, but when it’s late at night and everything else needs prep, tinned foods can be that shining beacon of light saves you from the hunger! I remember when I was a kid and a quick, easy, comforting lunch would be bread and a creamy bowl of Campbell’s soup.

Apparently, Campbell’s soup was meant as a luxury side dish for the upper echelons, but they found out that the ‘lower class’ were the ones buying the product and using a tin as an entire meal! Either way, tinned soup just evokes warm, fuzzy memories of childhood.

The best time was when I was sharing a tin of oxtail soup with my mom, and it had an egg cracked into it. We had the soup with soft white bread, sitting across from each other at the dining table.

What’s your best food memory?
Hung Out to Dry

I was flipping through one of Heston Blumenthal’s books where he was talking about the perfect Pasta Bolognese. There were loads on the perfect sauce, but he also discussed the perfect pasta.

Apparently, (and this is backed up by my extensive research – Iron Chef on TV had similar information) all freshly made pasta needs to be dried. This gives the pasta more body and bite, and helps it ‘stand its ground’ when there’s sauce added.

So I decided to experiment.

First, the basic fresh pasta recipe:

6 egg yolks (or three eggs. Not the perfect outcome, but acceptable for everyday food)
2 cups (300g) strong superfine flour (plain flour’s fine, you just have to knead it more)

Mix the egg yolks in with the flour. You can do this in a food processor till there’s a course crumb, or by hand in a bowl. Once it comes together, tip it out onto a clean counter top an knead till the dough is smooth and elastic. Wrap the dough in cling and leave to rest for 1/2-1 hr.

*On a side note, if the dough is too dry, add more egg. It all depends on the size of the egg you’re using.*

Next comes the fun part. Section the dough into 100g balls. I use a pasta machine to roll it out, but you can do it by hand if you want (it’s quite a bit of grunt work though). If you’re using a pasta machine, feed the dough through the machine on the widest setting once, then fold it over and feed it through the machine again. Do this a couple of times. After that, keep moving setting thinner till you get a sheet that you can see newsprint through.

Put the sheet through the pasta-cutting-roller-thing, so you get your linguine/fettuccine/etc.

Oh, and always remember to keep your dough lightly floured! Otherwise you’re going to end up with a sticky mess.

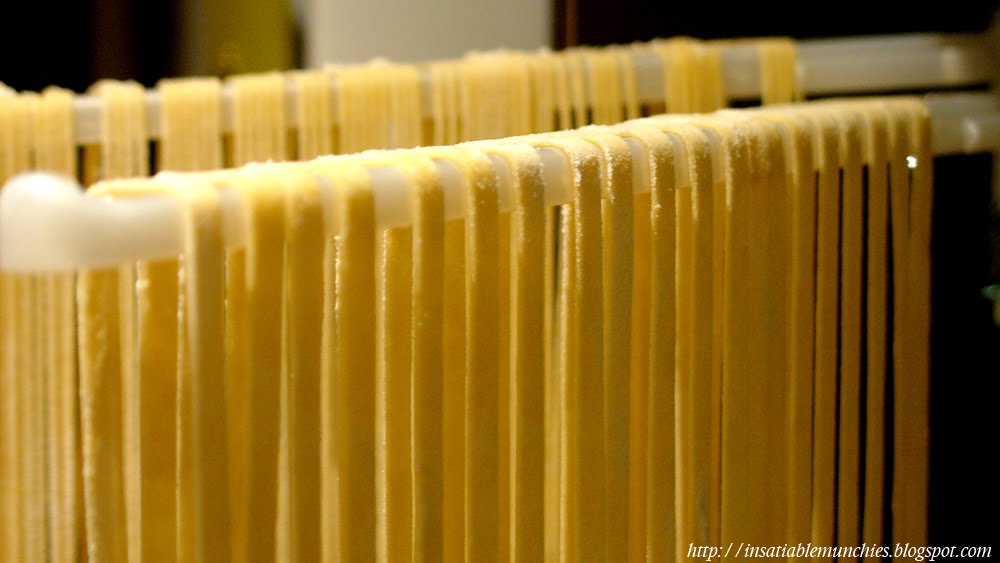
There are two main ways of drying out pasta. The first is the hanging method.

Get a clean rack and drape your carefully rolled out pasta over it. I’m using a plastic bath towel rack with suction cups, but any rack should do the trick as long as it will take the weight and you can clean it properly. The pasta strands are not supposed to touch, or mould will form. (I know I’ve got some that are touching – they were fine, but just try your best)

Drying time will depend on the climate you’re in. In Heston’s book, it’s mentioned that low heat and low humidity work well, and I can safely say that it’s the case for me. The pasta was completely dry (as in, stiff-as-a-board dry) in a couple of hours.

The second method is the nest method. This was a bit tricky.

Ok, so mine’s not so much a nest as it is a heap. You’re supposed to roll it into a nest shape and dry on a rack. For some reason mine just kept rearranging itself into heap formation. Either way, it seems to me that this produces a more semi-dry pasta, as opposed to the fully-dry hanging one.

The other thing that’s mentioned in Heston’s book is the cooking of said pasta. Apparently the holy ratio of pasta cooking is 10:100:1000. That is, 10g of salt, 100g of pasta, 1000g (1L) of water. Bring the salted water to the boil and add the pasta. Check after 5 minutes whether it’s cooked, and then a couple of minutes after that if it isn’t. The fully-dried pasta takes longer to cook.

The verdict? The thick fully dried pasta suits a meatier sauce, and the thinner fully dried one suits a simpler sauce or an Aglio e Olio type dish. The semi-dried one tasted a lot eggier, and I’m thinking that it’s more compatible with a cream-based sauce.

The fresh pasta was certainly worth the effort, it tasted like it had character of it’s own, rather than just the carbohydrate component to a dish. I would strongly recommend trying it. =)

Happy munching!

Ribbed for Your Pleasure

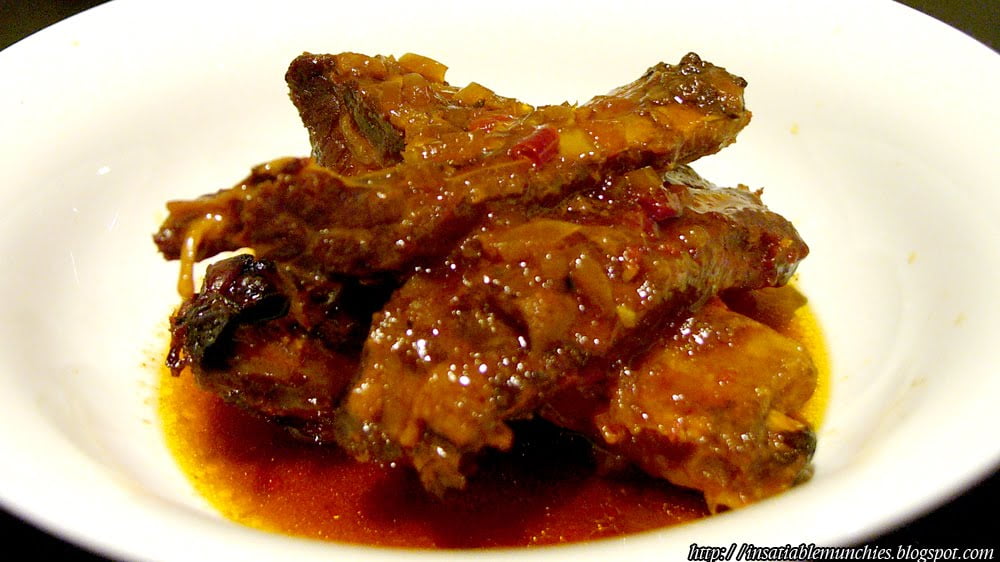
I just love slow-cooked ribs. Firstly, because I love slow-cooked anything. It barely takes any prep, and just bubbles away while you’re at work! And the smell when you come home is…well, it’s as if someone’s been slaving away to prepare your dinner for you!

And well, ribs. No one can resist that melt-of-the-bone succulence that comes with a well cooked rack of ribs.

I’ve got a recipe for slow-cooker ribs that is honestly, well, cheating. It’s not the most wholesome, from-scratch recipe there is, but it’s easy (and tasty)! And we all need a bit of ease in our lives once in a while.

Ingredients:

2kg Pork Ribs
1 Large Brown Onion
2 cloves Garlic
1 tbsp Chilli Powder (or 2 fresh chillies, chopped finely)
1 tsp Paprika
1 tsp Dried Rosemary
Enough tomato and BBQ sauce mixture to almost cover the ribs

Directions:

Thickly slice the onion and lay it on the bottom of a lightly oiled slow cooker. This acts as a trivet for the ribs so that it doesn’t burn on the bottom. Next, throw in the rest of the ingredients and cook on LOW for 6 hrs (or on HIGH for 4).

Serve with a selection of steamed veggies. 

By the way, the time that I specified is more of a minimum. I usually put it on in the morning and then go out, leaving it on for about 8 hrs. It’s all good.

Hope this gives you as much pleasure as it does me.

Happy munching!