
With Mothers’ Day just around the corner, I thought it might be a good idea to have a quick Mother’s Day gift idea roundup! I know how hard it can be to get Mum that perfect gift, but there are some ideas that can come pretty close, so I hope these ideas can inspire you like they inspire me!
Saturday Morning in a Box
From Make the Best of Everything
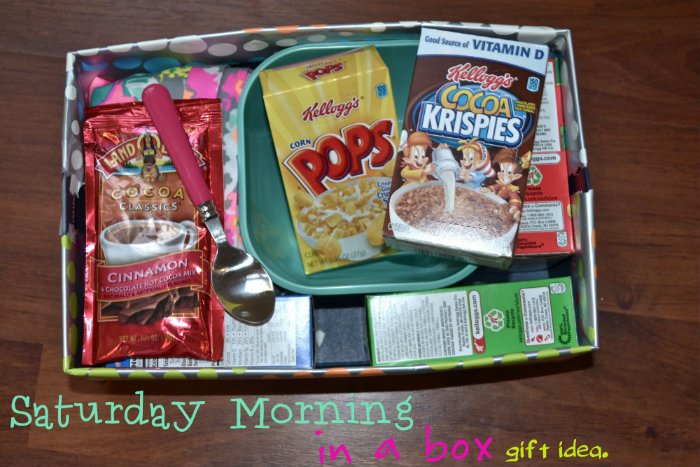
Mums usually don’t get to relax and sleep in on the weekend because they pick up the slack when the rest of us are taking the time off. So, why not give your mom an experience in a box? It doesn’t have to be Saturday Morning in a Box, but you can always add all of your mum’s favourite things for a relaxing morning – and then give her the morning off!
Edible Flower Pots
From Flour Arrangement
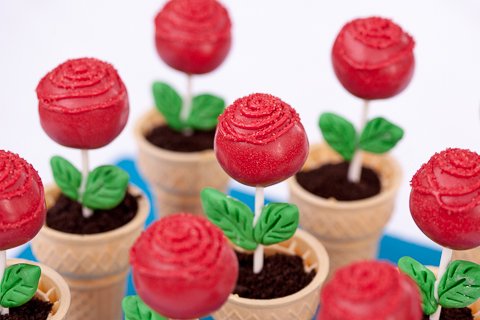
These uber cute rose cake pops are only made cuter by them sitting in ice cream cone flower pots!!! They look so simple to make, and definitely could be a part of a breakfast in bed for mum.
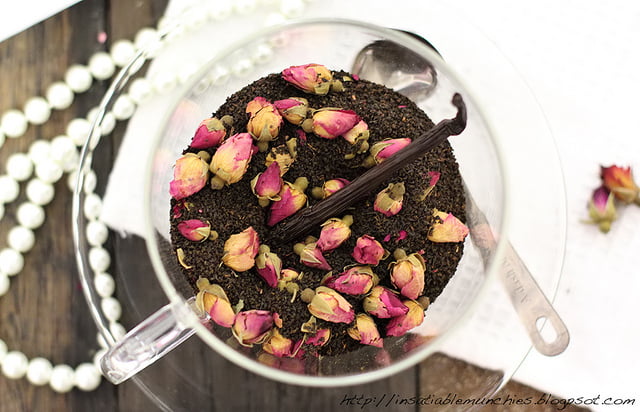
Rose and Vanilla Tea

Speaking of roses, I do have to toot my own horn. =) I made this Rose and Vanilla Tea infusion for my mum this year, gifted in a cute thermal cup. With black tea tips readily available, why not experiment and make your own infusion for mum? Maybe with some freshly baked scones for breakfast?
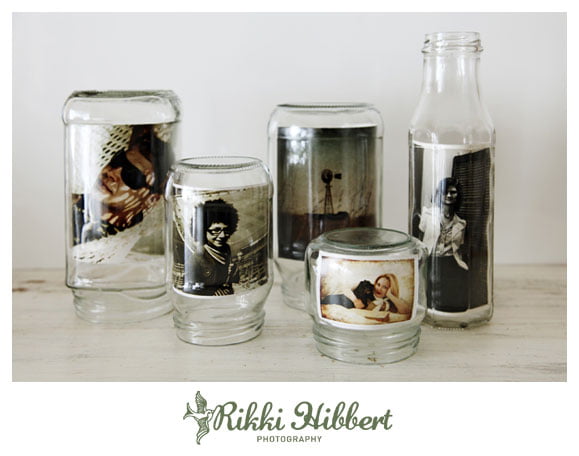
Glass Jar Photo Frames
From Rikki Hibbert
Mothers’ Day Envelope
From Cherished Bliss
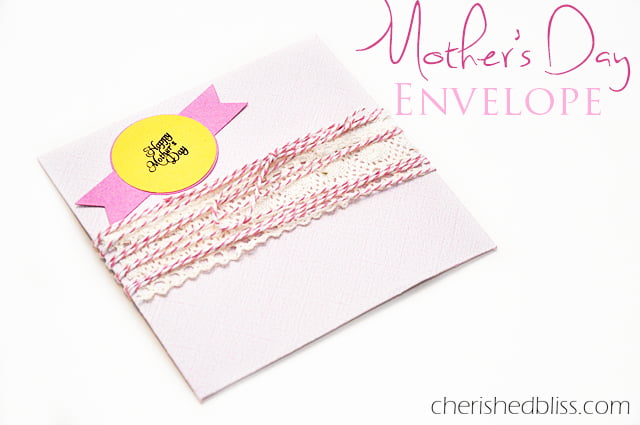
If you’re the card-giving type, how about a personalised envelope? With some twine, fancy borders and a bit of creativity, you can give mum a lovely card inside of a lovely envelope. Not keen on a card? Why not use the envelope to contain gifts, like tickets to the theatre for her and dad?
Tetris Cookies
From Sweet Explorations
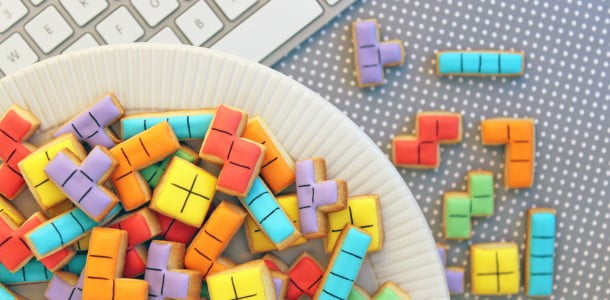
For the mum that loves Tetris – I know that there are many. I’m looking at you Cayte! What better than some Tetris cookies to snack on while you and/or your siblings valiantly volunteer to do the housework while she puts her feet up?
———————————————-
I hope that these ideas help you out like they’ve helped me. What are you giving your mum for Mothers’ Day this year?